

We’ve worked with a wide range of Brisbane homeowners to install durable, secure, and long-lasting garage doors. But even before installation day, there are a few things to know. We’re here to walk you through them.
Every garage door installation starts with a site check. Your installer will measure the opening, assess the space, and help you choose a door that fits your house style and needs. You’ll also confirm whether a roller, sectional, or tilt model best suits your garage.
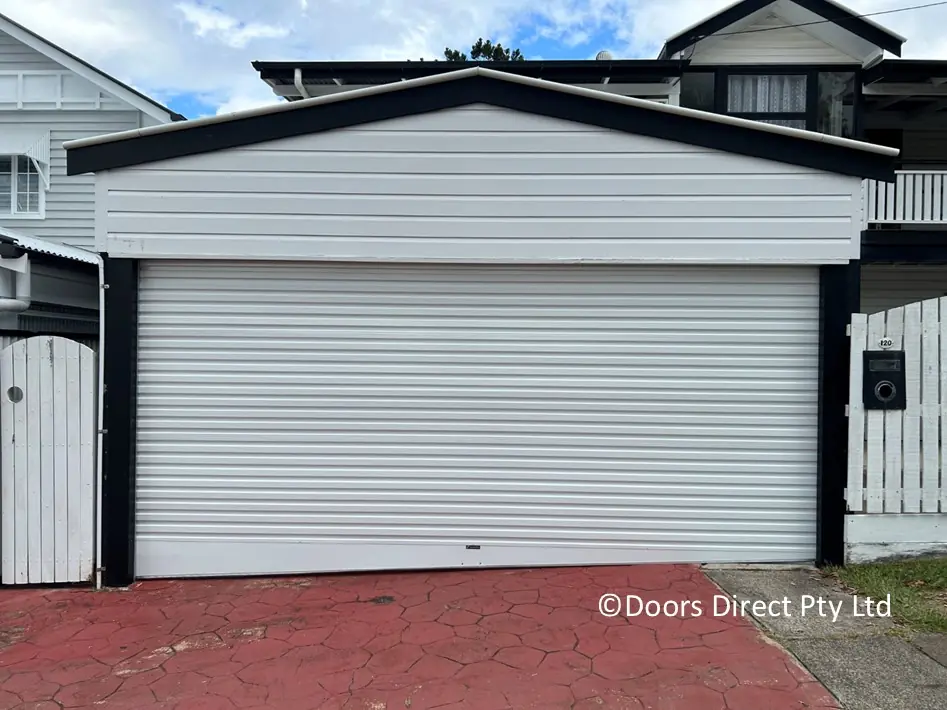
Want to improve the look and security of your property? A new garage door can do both. It also adds real value.
From booking the time slot to clearing the work area, this first stage sets everything up for a smooth install.
Read on to find out what happens when the team arrives.
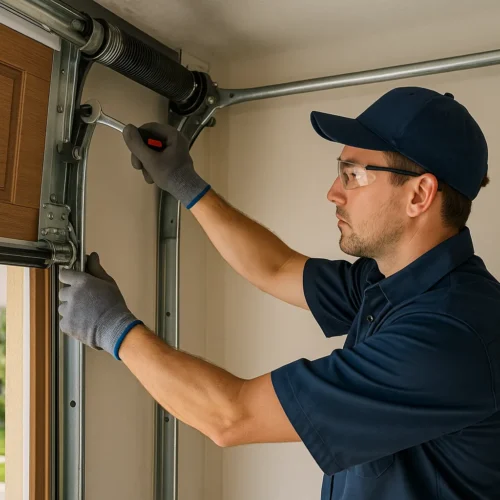
Your garage door installer will arrive at the scheduled time with all the equipment needed for the job. This includes door panels, tracks, tools and the opener unit. We work with high-skilled people to ensure everything is handled safely and efficiently.
First, there’s a walk-through. The installer will look at the door opening, check the ceiling space and inspect the existing garage door if there is one. You’ll be asked to clear anything that could get in the way, like bikes or shelving.
A good installer is a trained professional who puts safety first. They’ll make sure the power supply is safe to use, confirm clearance space around the door, and prep the area to avoid damage.
These steps make sure your garage and home stay secure throughout the installation process. They also help avoid delays once the real work begins.
Next, they’ll start removing your old door to make way for the new one.
There’s a clear process for removing them safely, and your installer will handle it with care. If you’ve never seen it done, don’t worry. It’s quicker and cleaner than most people expect.
This part matters because it clears the way for everything that follows. It also gives your installer a chance to spot any damage that needs fixing before the new door goes in.
Any cracked timber or sagging frame sections are flagged before moving forward. A solid base is essential for the new door to work properly.
Once everything’s clear, the old door and hardware are packed up for safe disposal or recycling.
With the space ready, it’s time to fit your new garage door.
Installing a garage door takes a lot of precision. Each step builds on the last to make sure your door runs smoothly, looks great and stays secure for years. Here’s what your installer will do next.

The installer starts by attaching vertical tracks to either side of the door opening. These are then connected to horizontal tracks along the ceiling. Each piece is levelled to keep the door aligned as it opens and closes. A secure, square frame makes all the difference in long-term performance.
Panels are fitted one at a time, starting from the bottom. For a sectional garage door, each panel stacks on top of the last, connected with hinges. Rollers are added on both ends to let the door move freely along the track. The installer checks spacing to make sure there’s no rubbing or binding.
Once the panels are up, the installer manually lifts the door to test the movement. If anything drags or catches, adjustments are made to the tracks or rollers. Then they tighten all fasteners and confirm that the door sits square in the frame.
This part handles the heavy lifting. A spring system, often a torsion spring, is mounted to a bar above the door. Cables are then looped through the rollers and attached to the spring. This creates the tension needed to raise and lower the door smoothly.
With the structure complete, the installer adds support brackets and braces. A final manual test run confirms that the door opens evenly, stays in position and closes with a tight seal. Good insulation and correct balance make your garage quieter and more energy efficient.
Once the garage door is installed and working smoothly, the team moves on to the automatic opener. This step brings convenience, comfort and added security to your day-to-day.
The motor unit is mounted to the ceiling and connected to the garage door via a drive rail and arm. This setup controls the door’s movement with the push of a button. Power is then connected and tested.
Next, the installer adds the control switch to the wall inside your garage. Handheld remotes are synced, and if you’ve chosen a smart system, mobile app setup is included. Most automatic garage door openers today also work with Wi-Fi, giving you access from anywhere.
Your installer will check all garage door openers for function and ease of use. Then they’ll walk you through how to use the automatic opener safely.
Safety sensors are installed at the base of the door and aligned properly. These prevent the door from closing if something is in the way.
When everything is secure and working correctly, you’re ready for the final tests.
Since the automatic garage door is installed and set up, it deserves to be tested properly. This step confirms that everything is working the way it should. Safety, smooth operation and long-term reliability all depend on this stage.
A trained professional will take you through a full walkthrough. They will check that the door moves cleanly, responds to commands and follows all safety protocols. You will also learn how to spot early signs of wear and how to keep the system running well.
Here’s what the testing phase includes:
These checks follow Australian safety standards, including AS/NZS 60335.2.95, which require safety reversing systems and aligned sensors for all modern garage doors.
After the tests are complete, your installer will explain how to maintain the system. Regular checks help prevent issues, protect your home and extend the life of your garage door.
Taking care of your garage door starts as soon as the job finishes. A few simple steps can help you avoid unnecessary repairs and keep the system running smoothly for years.
Every few months, inspect the door and opener. Listen for unusual sounds. Check the rollers, hinges and tracks for wear. Apply silicone spray where needed to keep movement smooth and quiet.
Keep the area around the door clear. Boxes, tools or equipment that block the path can trigger safety sensors or strain the opener. Clear space makes for safer use and easier access every day.
If the door becomes noisy, starts jerking or feels heavier than usual, it’s time to book a service. Quick repairs prevent long-term issues and protect your investment.
Most installers offer annual maintenance checks. These include tension testing, sensor calibration and a look at all the moving parts. It’s a simple way to extend the life of your garage door and keep your home secure.
Here’s a simple checklist to follow between services:
Thinking about a new garage door? We’re here to make it easy.
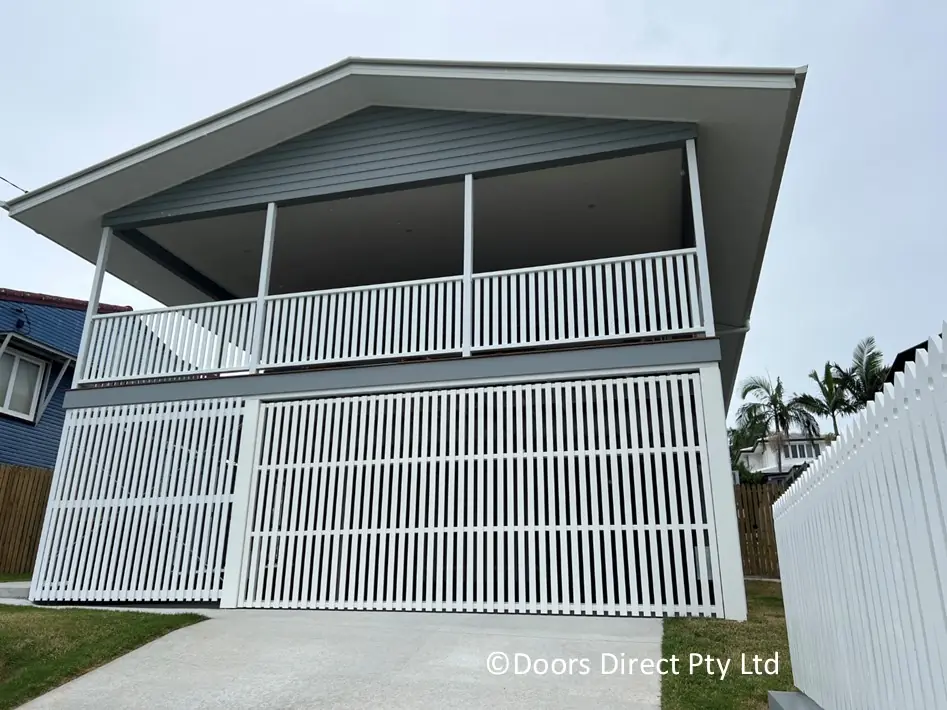
At Doors Direct, we’ve helped homeowners and businesses across Brisbane upgrade their garages with high-quality products and reliable service. We install roller, sectional and tilt doors, offering a wide range of custom solutions to suit your space and style.Our team supports you from start to finish. We take care of measuring, fitting, testing and follow-up advice after installation. You’ll work with a garage door installer who knows how to get it right the first time.
Ready to get a new garage door? Book your garage door installation today and enjoy a safer, better-looking garage that lasts.